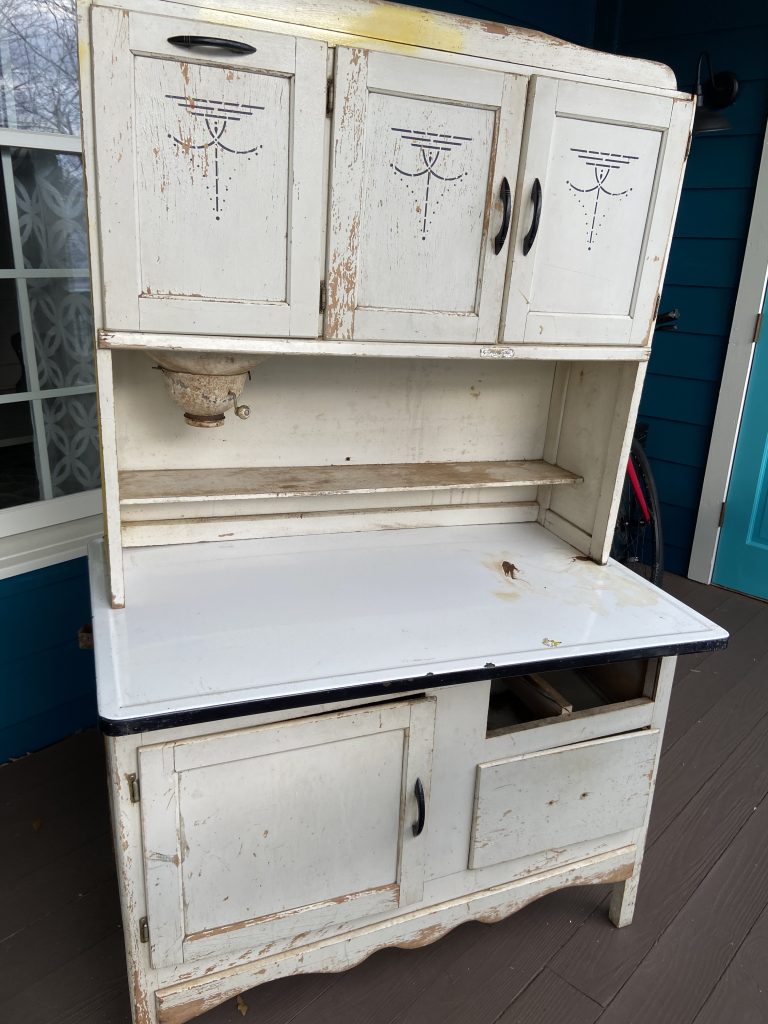
This is the first in a multi-part series about refinishing a Hoosier-style cabinet I found in a shed behind a trailer in rural Georgia. (OK, so I found it on Facebook Marketplace, but still, it lived in a shed behind a trailer home).
It wasn’t in horrible shape but it wasn’t in great shape either, so I thought I’d research the best ways to bring it back to life and then document what I did. Hopefully, you can learn from the process too! (I know I will.)
Step 1: Start with a clean base
The first thing you do, said all the blogs, was strip off the paint.
Gosh, this step is a pain in the ass. But, it’s absolutely necessary. You don’t know anything about the paint that’s on top, and you don’t know how many layers live underneath. Sure, you could slap some paint on there and call it a day, but you might end up introducing new problems to your piece. Plus, stripping the paint gives you a chance to address any potential structural/damaged places before the paint goes back on, so all sins can be covered (ideally).
Now, I’m a huge fan of old stuff and would always rather have the original finish, paint, or patina whenever possible. But there are a few reasons why I chose to strip the paint and refinish this piece rather than wash it off and call it a day.
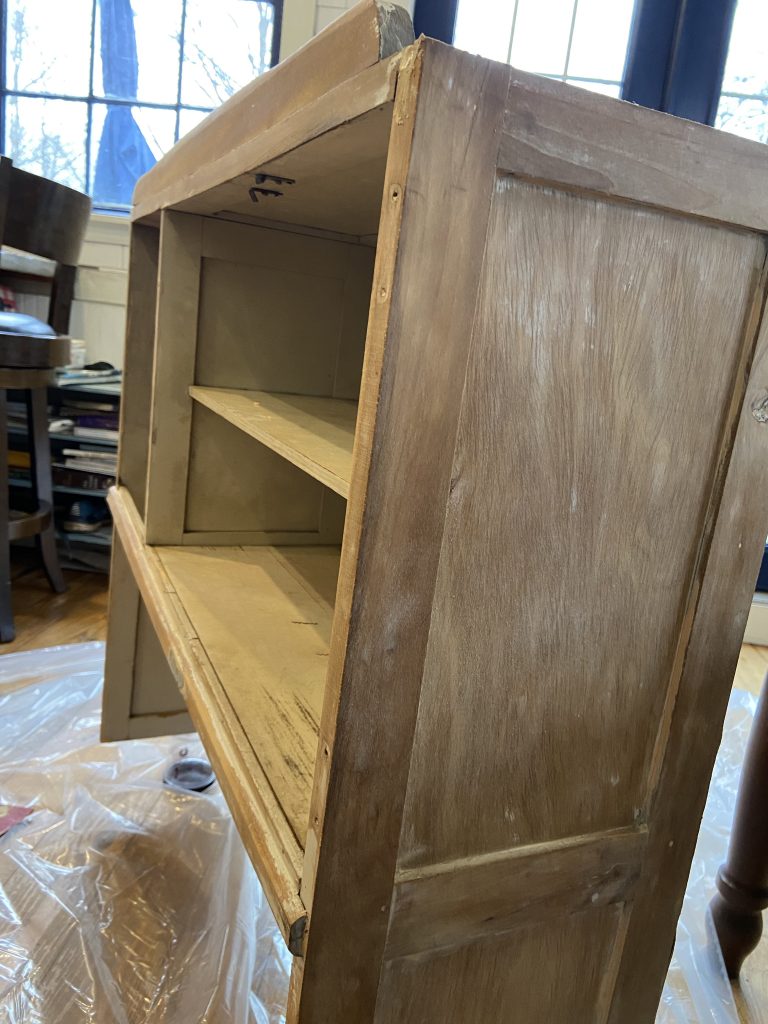
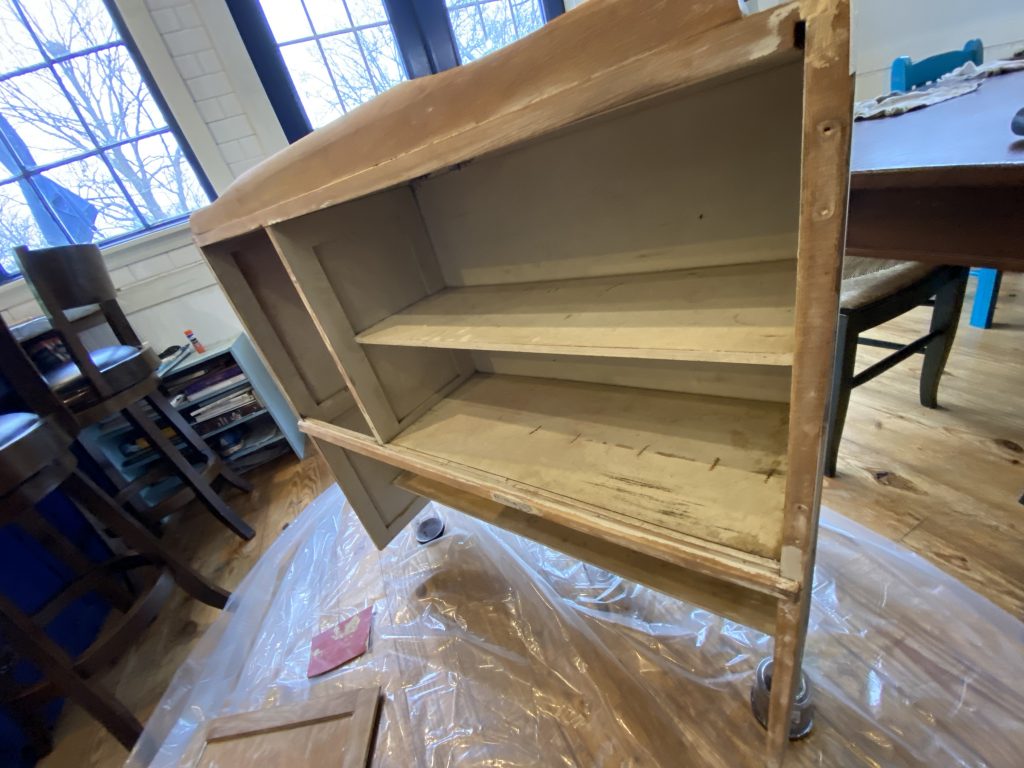
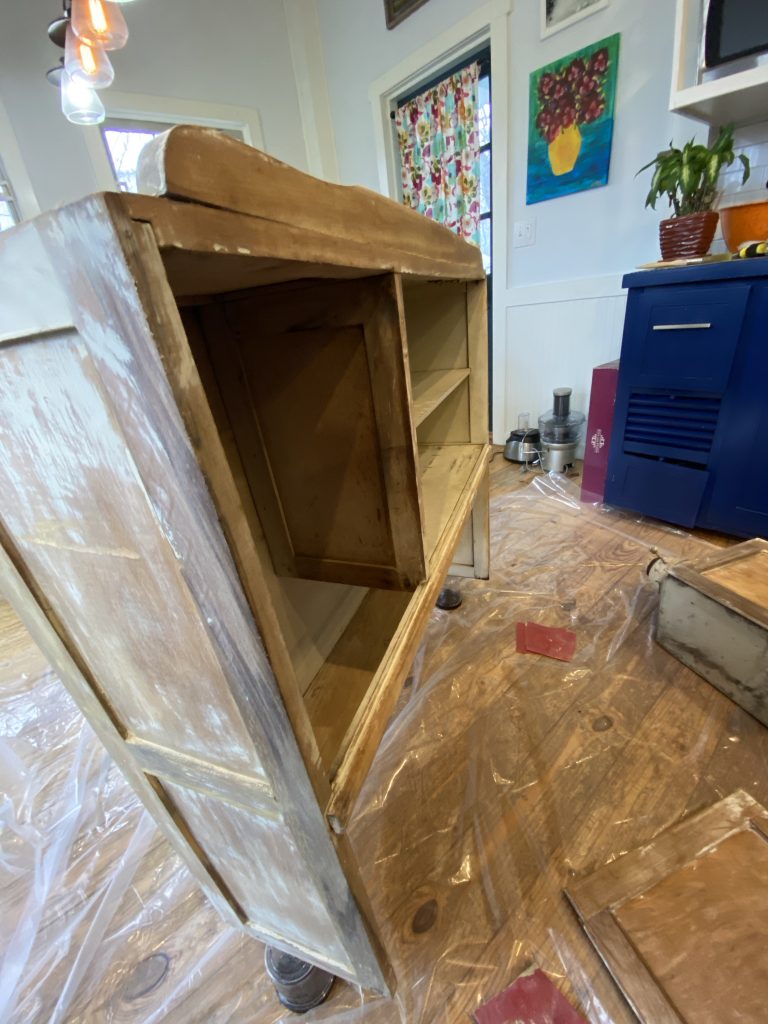
• It’s missing a drawer. In a way, it’s better that this piece is painted and missing a part instead of coming stained and missing a drawer. Matching a stain on vintage wood would be next to impossible. But once I figure out the drawer, I can give everything the same coat of paint and nobody will ever know it was missing
• Someone tried to paint it. The left side of the hutch has yellow spray paint all over it—I know it’s spray paint because it’s thin and a bit chalky and it a god-awful color. So, yeah, there’s no way that’s living in my kitchen.
• You never know what that paint really is. Sure, you could get a lead test and know for sure if it’s toxic, but if it is—is it worth putting a coat of poly on it and calling it a day? Really? No, sorry, you can’t get out of this one that easily. Take that stuff off and give it a proper coat of fresh paint.
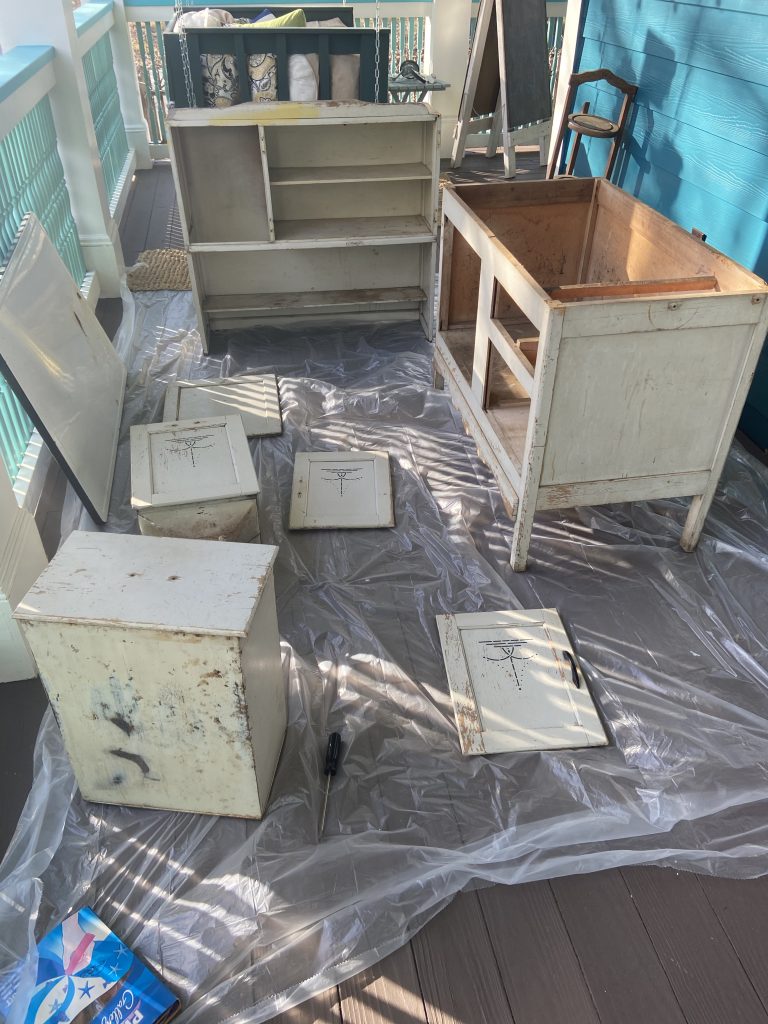
Step 1(a): Remove the hardware
Before you can begin stripping the paint, you have to prep your surface. This means taking off all the cabinet hardware in preparation for your paint stripper. It’s also important to check out the state of the hinges or handles. Unfortunately, I’m short a couple drawer pulls, so I can’t reuse the original ones. I scoured the internet for something similar, but, really, how the heck do you search for a particular black plastic drawer pull that’s vaguely art deco? Well, you don’t. So, I’ll cross that bridge again when I come to it.
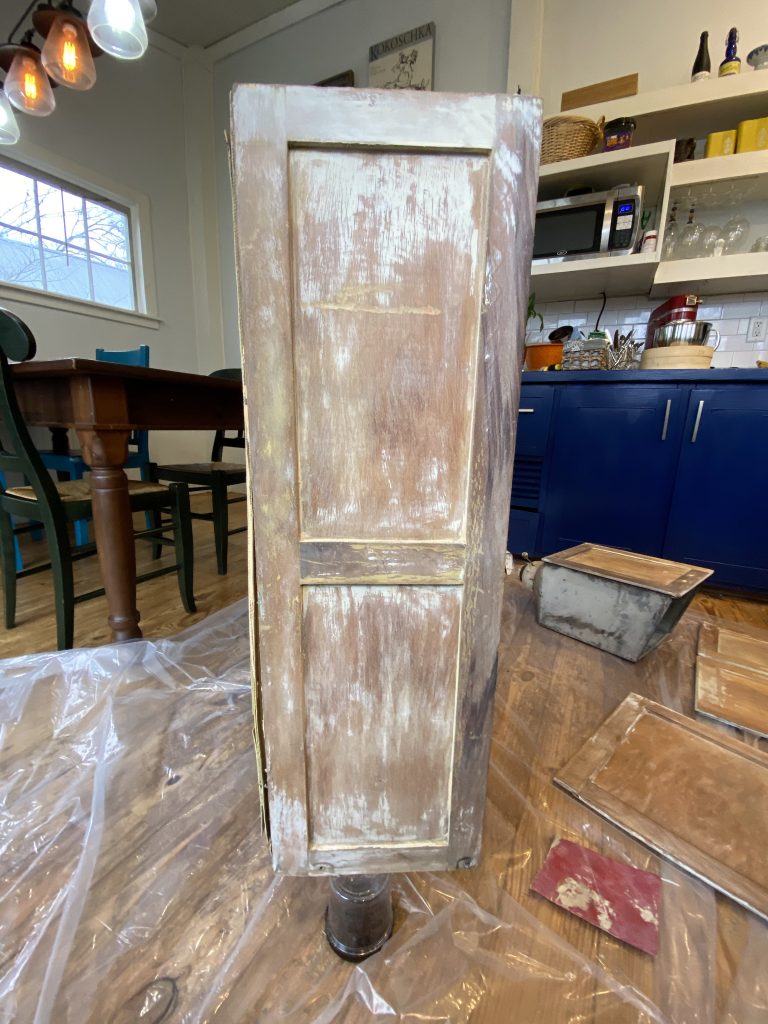
Step 1(b): Strip, baby, strip
Paint stripper is noxious. I’m fairly certain I’ve lost several thousand brain cells from the stripping projects I’ve undertaken in the past. This time I got this new kind of stripper, thinking it wouldn’t smell quite so poisonous. And it really is much better!
I did my stripping in the winter, and since I don’t have a proper shed to conduct such experiments, I was outside on my porch. Stripper works best in 68-88F environments, so I tried to time my work for when we entered into a warm-ish snap.
One mistake I made: I put the stripper on and left it on so long it actually dried. Oops. This doesn’t aid in stripping the paint; all it does is adds a layer of stuff you now have to get off.
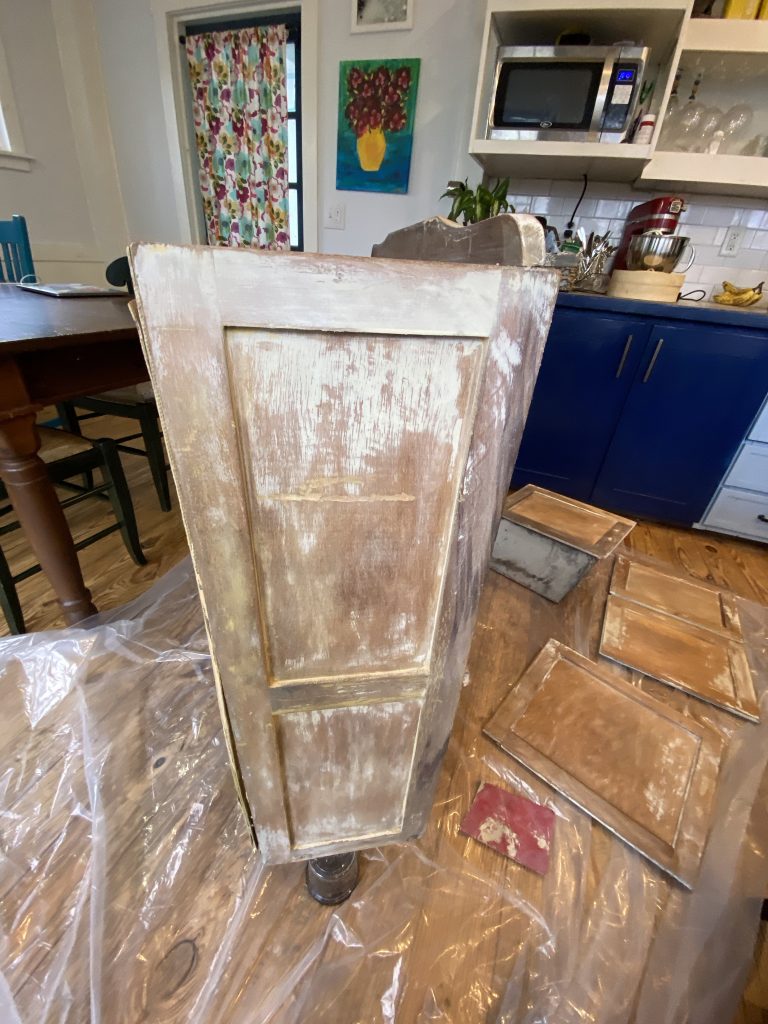
Pro tip: Paint on your stripper and then wrap your item in plastic wrap. Let it sit, and then strip it off. The plastic wrap kept it tighter to the wood and, I think, helped with the reaction. The wood came out fine, although the residue of the paint is firmly ingrained in the grain and isn’t coming out.
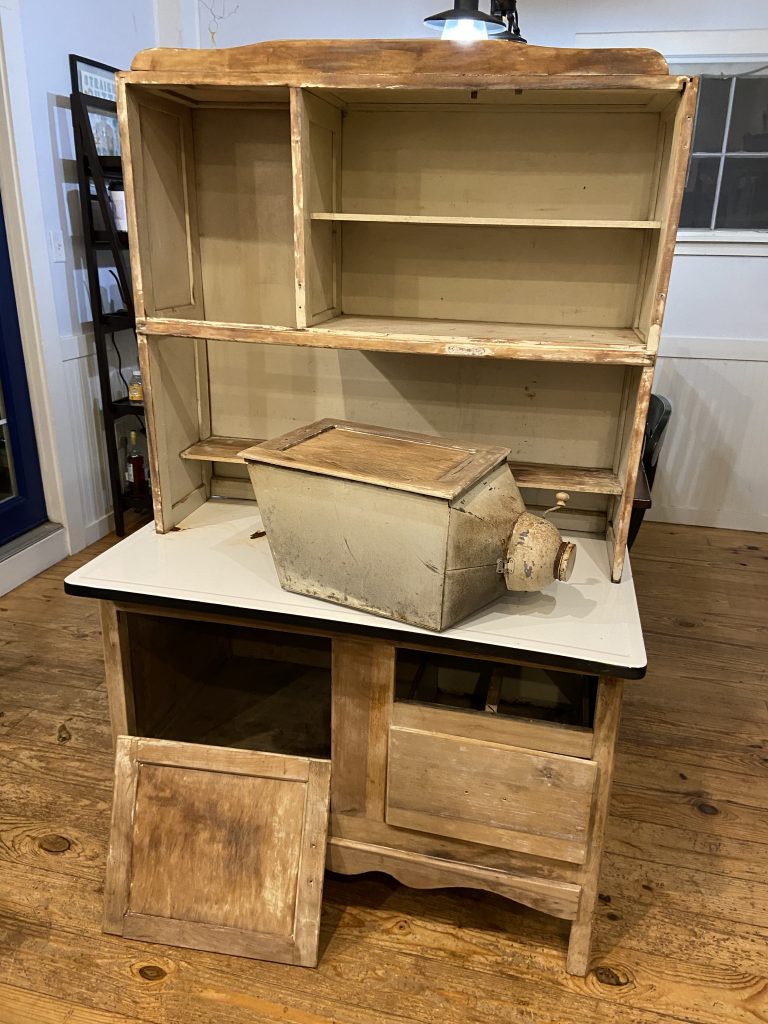
Just to recap, here’s the steps I took to get the piece (mostly) stripped:
• Lay down some plastic or other protective base. Stripper gets messy and you’re going to be dropping chunks of stuff. Don’t ruin your floor in the process!
• Do your work in a well-lit, well-ventilated area. I envy people with workshops. If I lived in an apartment, I’d probably have to be lugging this piece in and out of the parking lot in order to strip it safely.
• Once you remove the hardware, paint on the stripper and cover it in plastic wrap. Let it sit for an hour or so, then scrape it with a plastic scraper.
• I did this process twice. After the second time I’d gotten most of the paint up, but still had splotches of white in places. In a fit of anger, I started washing it with Murphy’s Oil Soap, just to give myself another focus. and you know what? It took off the whitewashed-looking parts like a charm! So, I highly recommend this step to help assess how much stripping you may still need to do.
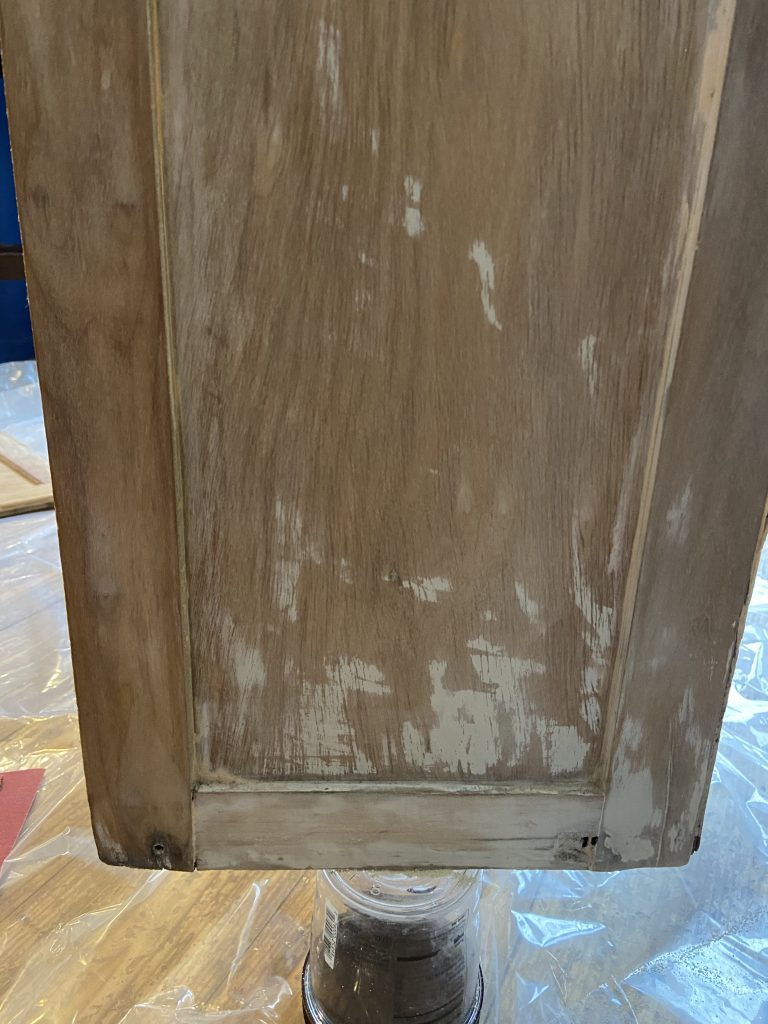
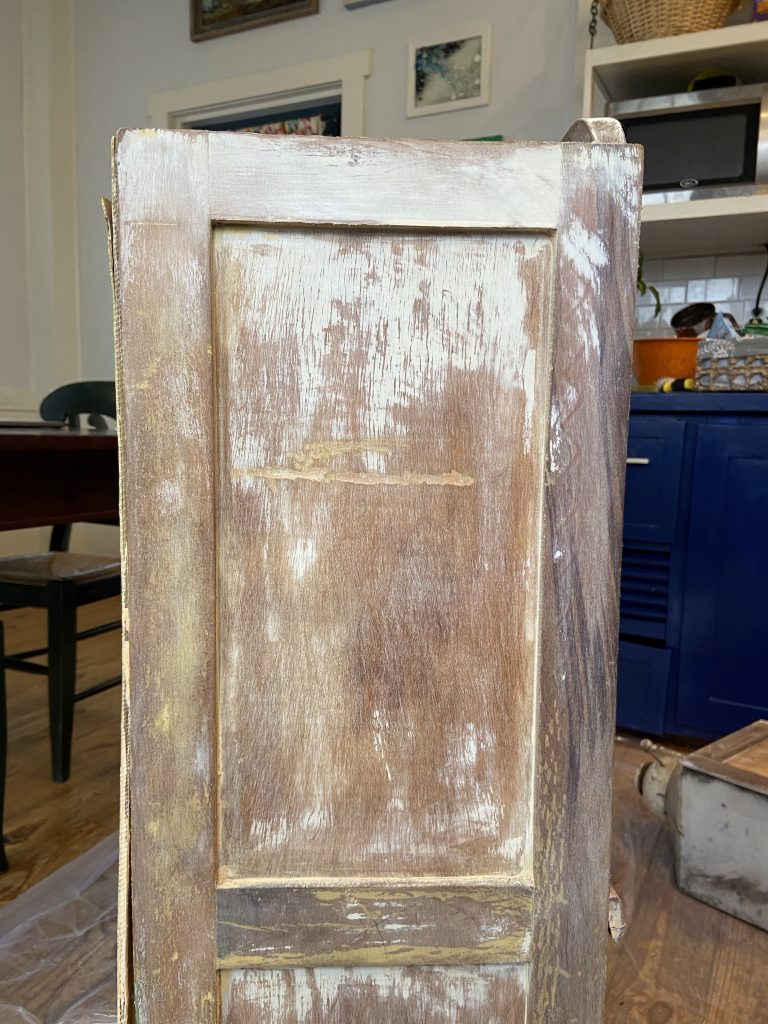
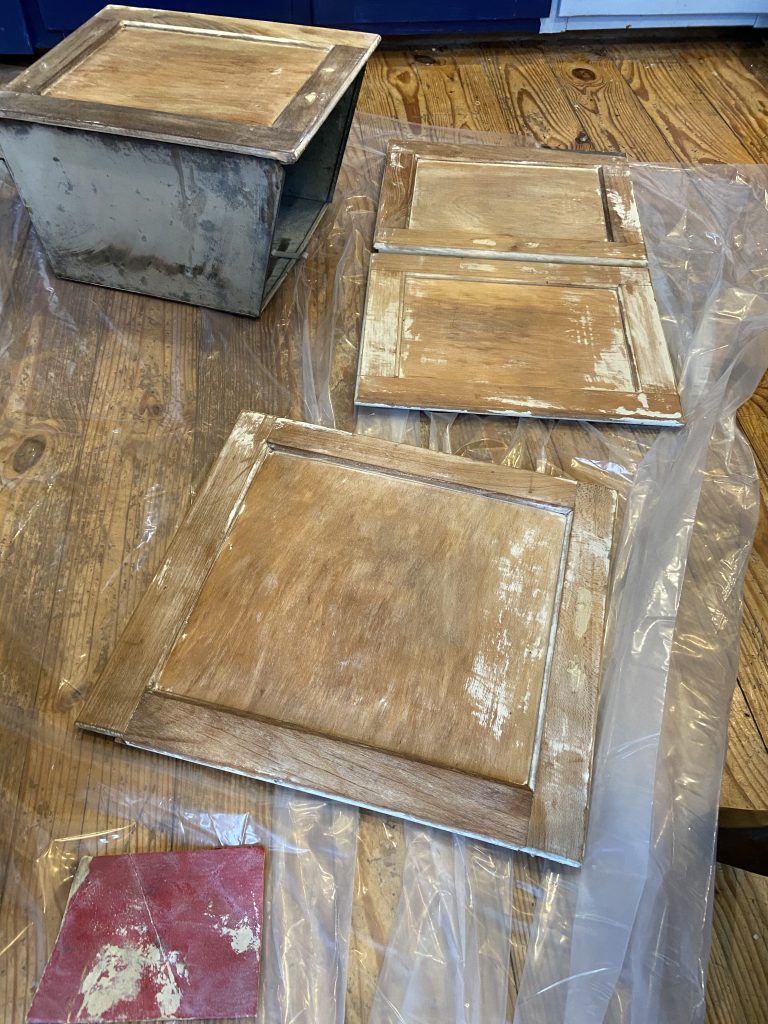
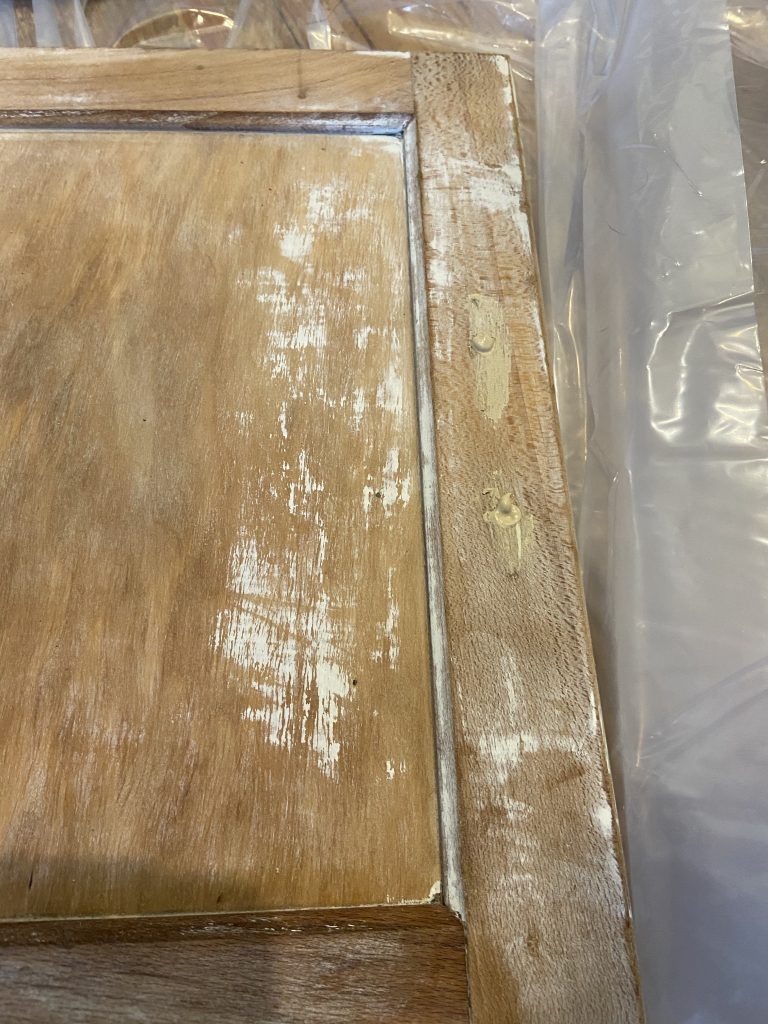
In the end, I wish I had spent a little more time to do a third strip. Now that i’m in the painting stage, I’m finding places where the paint isn’t adhering as well as I had hoped—and I blame the older paint. But, damn, stripping paint is such a huge pain. i’ll take my victories where I can.
Next up: Milk paint!